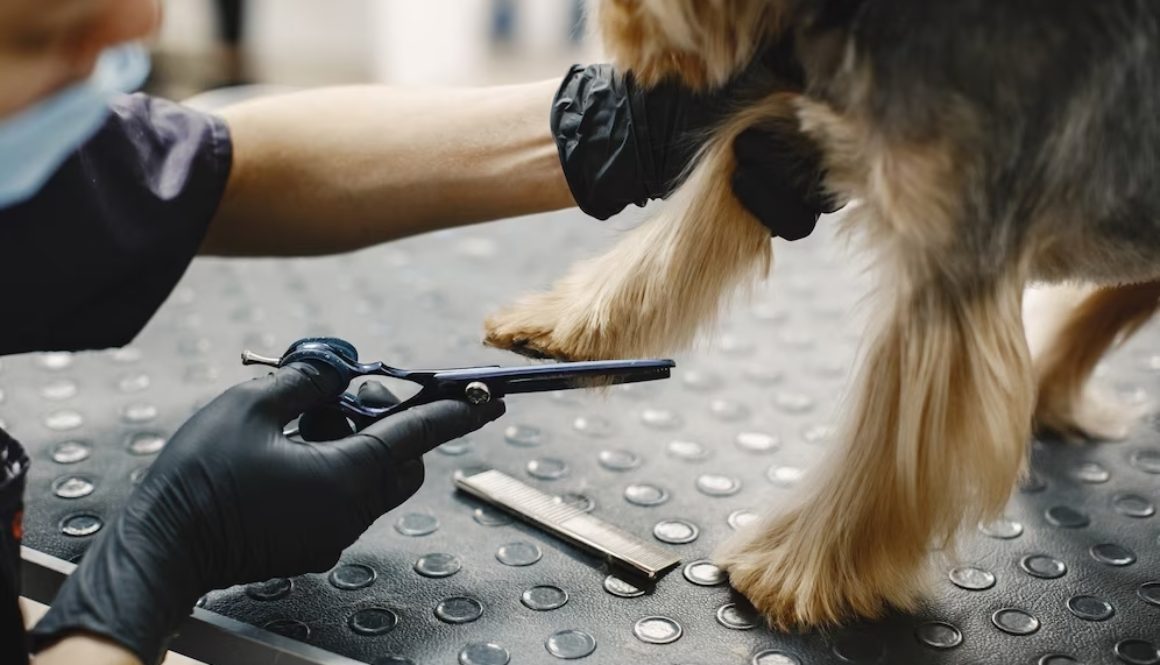
Claws to Pause: The Underrated Significance of Pet Nail Trimming
When it comes to pet grooming, the importance of maintaining a healthy, well-manicured set of nails often takes the backseat. However, regular nail trims are crucial for the well-being and comfort of our pets. If you’re scratching your head wondering why, or you’re looking for safe and effective techniques to nail the task of trimming your pet’s claws, this article has you covered.
Understanding the ‘Why’ behind Nail Trimming
Firstly, let’s decode the reasons why regular nail trimming is essential. Long nails can cause discomfort, affect your pet’s gait, and potentially lead to injuries or long-term health issues, such as joint pain or arthritis. Moreover, overgrown nails can curl back into a pet’s paw pad, leading to painful sores and infections.
Getting Equipped: The Right Tools for the Job
Proper nail trimming starts with choosing the right tools. Standard options include guillotine-style clippers, scissor-style clippers, and grinding tools or nail files. While guillotine-style clippers are easy to use and effective for small to medium-sized pets, scissor-style clippers are more suited for larger pets with thicker nails. Grinding tools are an excellent choice for a smooth finish but might require some acclimation for pets due to the noise and vibration.
Understanding the ‘Quick’
Pet owners often shy away from nail trimming due to the fear of cutting into the ‘quick’ – the blood vessel inside each nail. This part of the nail is sensitive, and accidentally cutting it can cause discomfort and bleeding. In pets with light-colored nails, the quick is visible as a pinkish region within the nail. For pets with dark nails, the task is more challenging, but a general rule is not to cut too close to the paw.
Step-by-Step Guide to Nail Trimming
Now that you’re armed with knowledge and tools let’s dive into the step-by-step process of trimming your pet’s nails.
Create a calm environment: Choose a quiet, well-lit area. Ensure your pet is comfortable, offering their favorite treat as a distraction if needed.
Handling the paw: Gently hold your pet’s paw but firm enough to prevent sudden movements.
Identify the quick: As mentioned earlier, try to locate the quick to avoid cutting into it.
Trimming the nail: Position the clipper at a slight angle parallel to the nail (not perpendicular) and make a swift, confident cut.
In case of quicking: If you accidentally cut into the quick, don’t panic. Use a styptic powder or pencil to stop the bleeding.
Reward: Always praise your pet and offer a reward after each nail trimming session. This helps create a positive association with the process.
Regular Nail Trimming: Key to Comfort
When it comes to how often nails should be trimmed, there’s no one-size-fits-all answer. It largely depends on your pet’s lifestyle, breed, age, and health. A good rule of thumb is if you hear your pet’s nails clicking on the floor, it’s likely time for a trim.
Finding the Courage: Overcoming Nail Trimming Anxiety
If you’re feeling apprehensive, that’s normal. Nail trimming can be nerve-wracking for new pet owners. Start slowly, and if you’re ever uncertain, seek advice from a vet or professional groomer. Over time, as you become more comfortable with the process, so will your pet.
To conclude, while nail trimming may seem like a daunting task, it’s an essential aspect of pet care that shouldn’t be overlooked. Regular nail maintenance helps prevent discomfort and potential health issues, contributing to your pet’s overall well-being. With patience, practice, and the right approach, you can master this art and ensure your furry friend’s paws stay in tip-top shape. Remember, nail trimming isn’t just a grooming task, but a gesture of love and care for your pet’s comfort and health.

